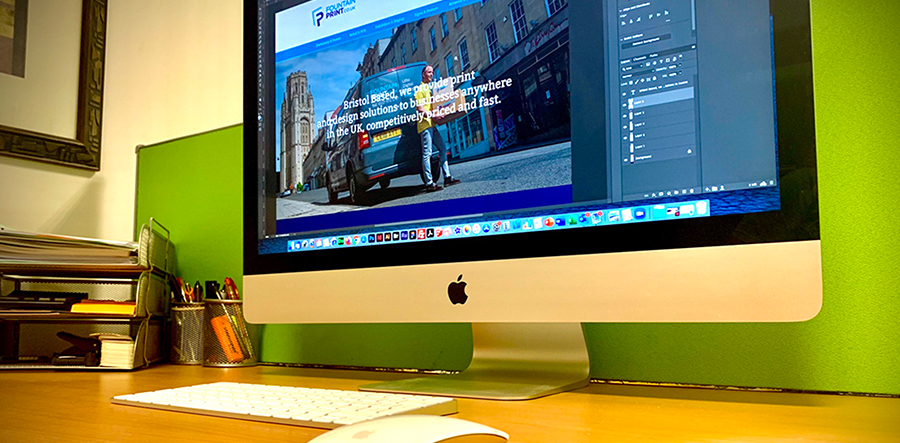
From a basic draft we can email multiple proofs to your desktop so that you can see how the finished product will look. Once you have approved your new design we can advise you on materials and economical order quantities so that you can get the best value possible.
We’ve put together some top tips on how to set up your artwork for print:
Document size
When setting up your document, set your page size to the size you want the final product to be. Always supply as single pages (not spreads).
Safe area
It is always a good idea to have a ‘safe area’ or margin of approx no less than 6mm around the edge of your artwork, ensuring that you do not place any important text outside this perimeter.
Images
For the best quality, ensure your images are 300dpi at 100%, and convert all RGB imagery to CMYK. If you are using logos, ensure these are in vector format.
Colour
Ensure artwork is set as CMYK and not RGB. Please note the colour on your monitor is not always an accurate representation of the printed colour, due to different screen calibrations. If you have any specific colour matching requirements, it is always a good idea to ask for a proof first. If you have a specific pantone reference, please always let us know.
Bleed
Ensure you have a 3mm bleed to make sure you’re not left with a white edge when trimmed. This is where the artwork extends 3mm over the document size.
File formats and print ready PDFs
High resolution, press quality PDF’s are always preferable. We can open other file formats but there is a danger of appearing different other sytems which is why the safest option is PDF.
A print ready PDF will consist of the following:
Crop marks
3mm bleed
Embedded fonts
High resolution and CMYK images
Single pages (not spreads)
 Top Tips
Confused? Talk to us now using our live chat service and we’ll help you figure out what you need in minutes.
Top Tips
Confused? Talk to us now using our live chat service and we’ll help you figure out what you need in minutes.